If you are looking for a quick, crowd-pleasing meal that the whole family will love, these Chicken Fajita Sliders are exactly what you need.
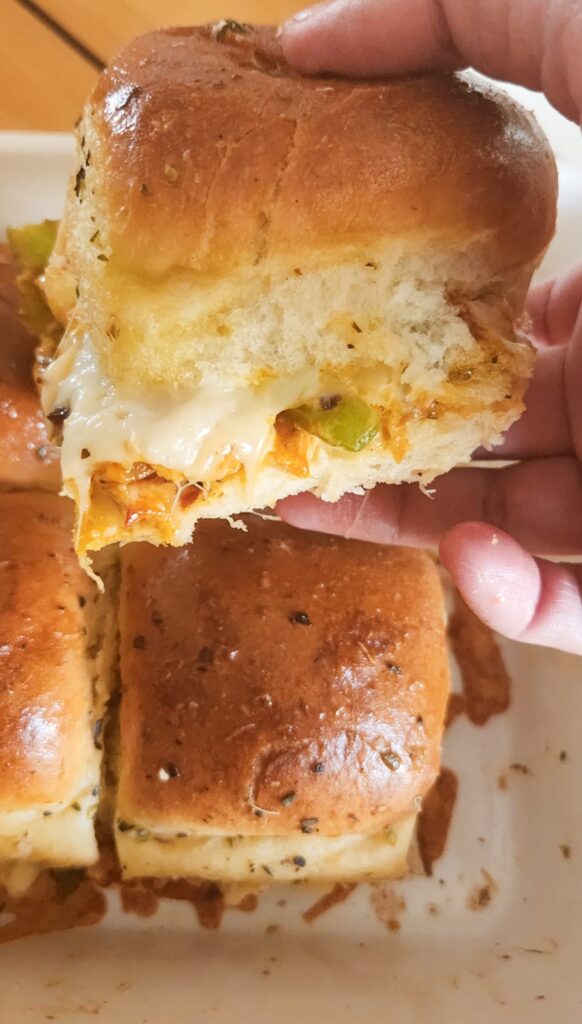
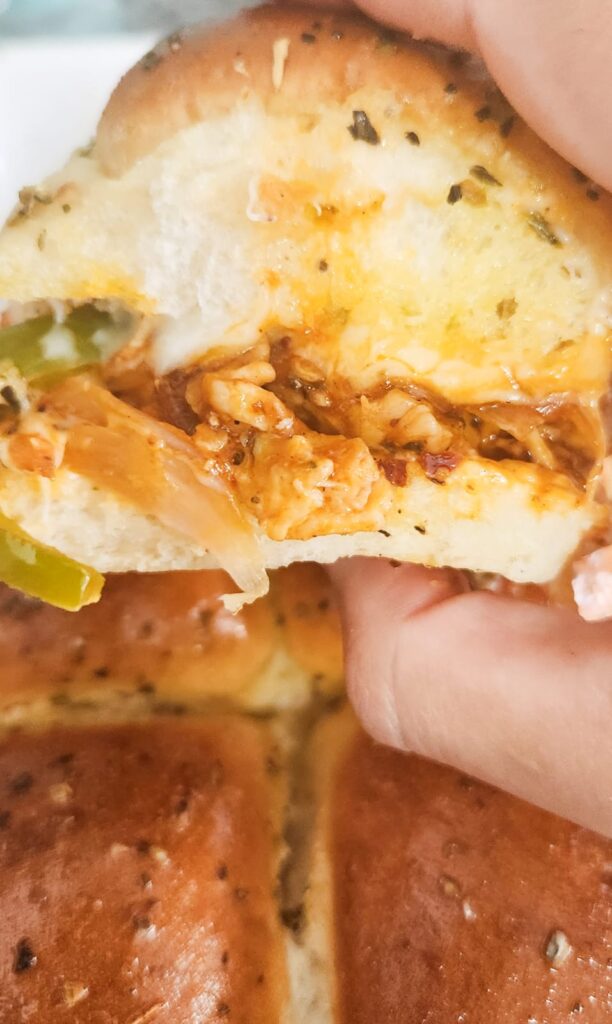
Juicy spiced chicken, sautéed bell peppers and onions, and melty mozzarella cheese are packed into soft King’s Hawaiian rolls, finished with a garlic butter and oregano glaze, and baked until golden and gooey.
They come together in under 40 minutes and work as a weeknight dinner, party appetizer, or next-day lunch.
I always make a double batch because these disappear fast. Once you try them, they will become a permanent part of your rotation.
Why You Will Love This Recipe
— Ready in 40 minutes — quick enough for a weeknight, impressive enough for guests.
— Kid and adult approved — the flavors are bold but not overwhelming, and sliders are fun to eat at any age.
— Great for meal prep — the chicken and veggies can be marinated and prepped ahead of time.
— Easy to customize — swap the cheese, add jalapeños, or use rotisserie chicken to make it even faster.
— One pan, one dish — minimal cleanup.
What Goes Into Chicken Fajita Sliders
Chicken
Use boneless, skinless chicken breast or chicken thighs cut into thin strips. Chicken thighs stay juicier and have more flavor, but breast works well too.
The chicken is marinated in a simple spice blend and cooked on high heat before being combined with the vegetables.
Bell Peppers and Onion
Bell peppers and onion are the heart of any fajita filling. Use a mix of red, green, and yellow bell peppers for color and flavor, or stick to one color — whatever you have on hand.
Slice them thin so they soften quickly and fit neatly inside the slider.
Fajita Spice Blend
The spice mix is simple and made from pantry staples — salt, paprika, cumin, chili powder, garlic powder, onion powder, and dried oregano.
You can also use a store-bought fajita seasoning packet if you want to save time. The ketchup added to the filling gives it a slight tang and helps bind everything together.
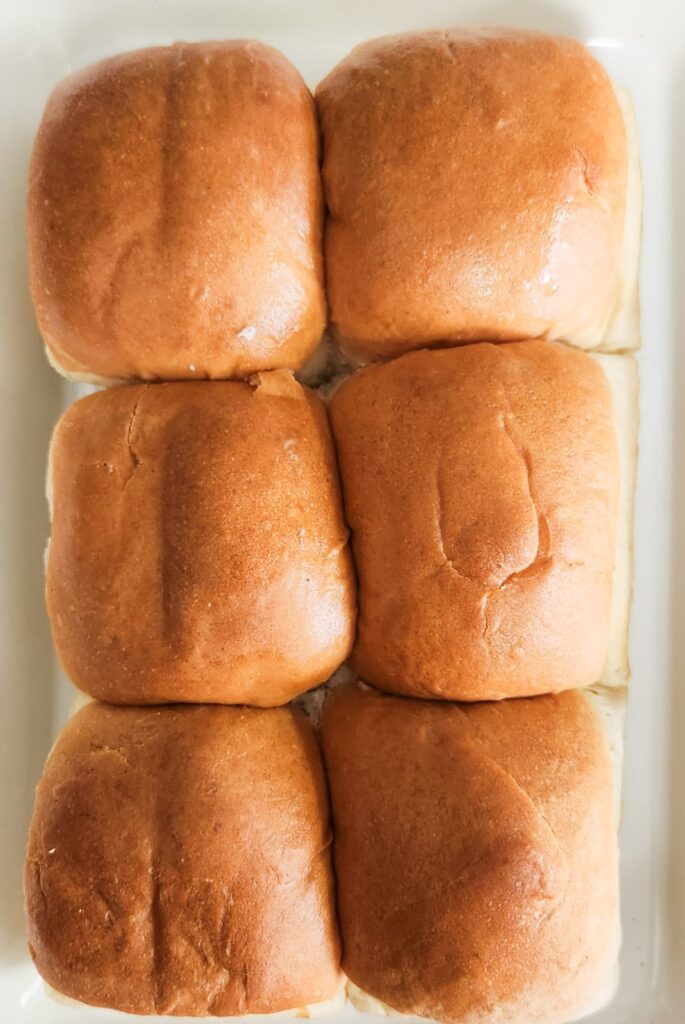
Slider Buns
You can use any good-quality slider buns for this recipe, but King’s Hawaiian rolls are the best choice. Their slight sweetness balances the smoky, savory filling perfectly.
They are soft enough to absorb the garlic butter glaze without getting soggy, and they hold their shape when sliced and served. Brioche slider buns are the next best option if King’s Hawaiian are not available.
Important: Do not separate the rolls before baking. Slice the entire pack horizontally in one cut, build the sliders, and bake them as a connected sheet. This is what creates the pull-apart effect and keeps the filling from falling out.
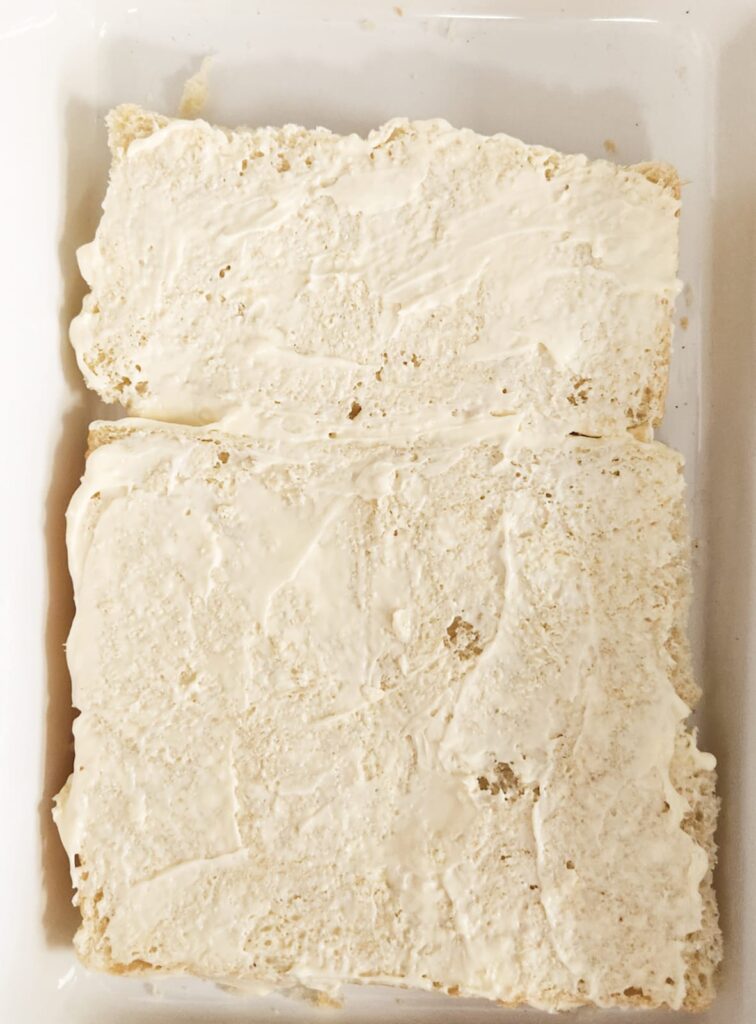
Mayonnaise
A thin spread of mayonnaise on the bottom half of the rolls adds creaminess and acts as a moisture barrier so the buns do not get soggy from the filling. Do not skip this step.
Mozzarella Cheese
Freshly grated mozzarella melts better than pre-shredded cheese. Use a generous amount — the cheese holds the filling in place and creates that stretchy, gooey pull that makes sliders irresistible.
You can also use pepper jack for a spicier version, or a mix of cheddar and mozzarella for more flavor.
Garlic Butter and Oregano Glaze
This is what takes these sliders from good to unforgettable. Melted butter, minced garlic, and dried oregano are mixed together and brushed generously over the top of the rolls before baking.
How to Make Chicken Fajita Sliders
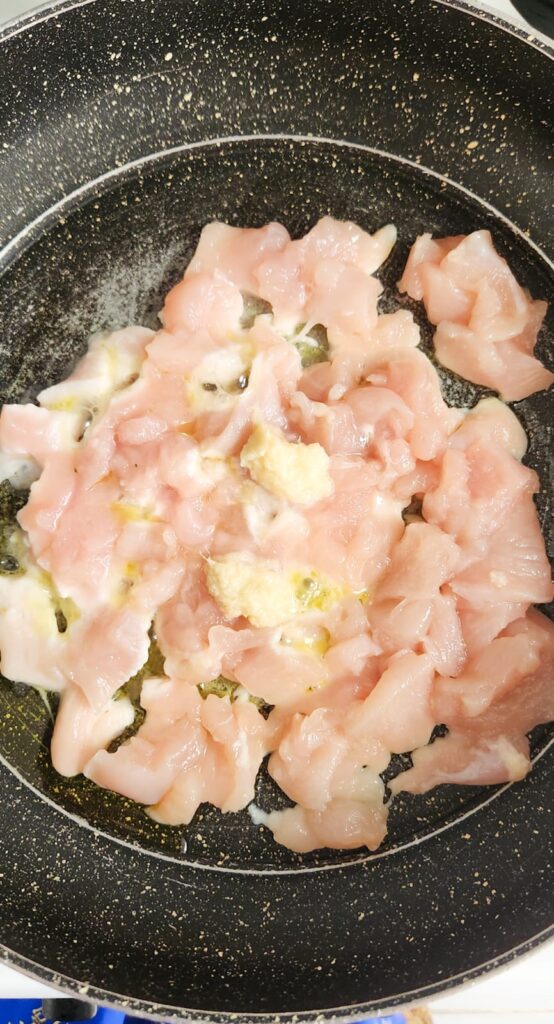
Step 1 — Marinate and Cook the Chicken
Cut the chicken into thin strips and toss with the spice blend and oil until fully coated. Heat a skillet over medium-high heat and cook the chicken for 5 to 6 minutes until cooked through with golden edges.
Do not overcrowd the pan — cook in batches if needed so the chicken sears rather than steams. Remove and set aside.
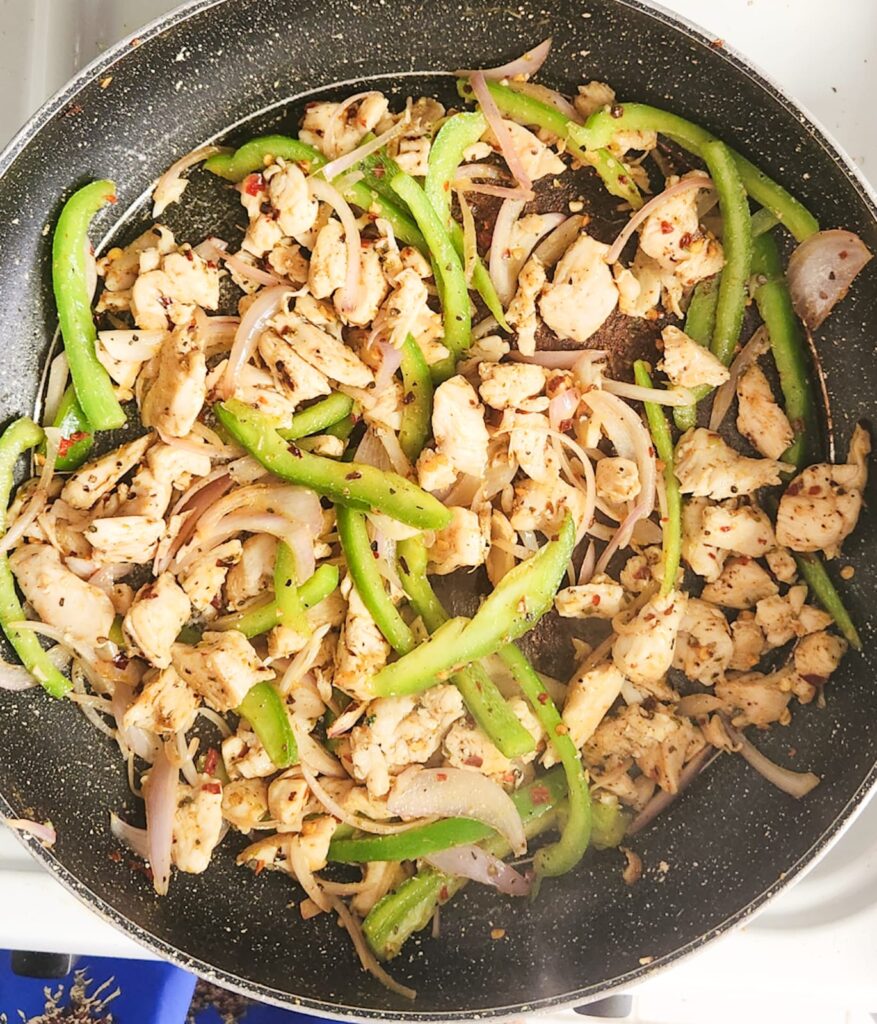
Step 2 — Sauté the Peppers and Onion
In the same skillet, add a little more oil and cook the sliced bell peppers and onion over medium-high heat for 6 to 8 minutes until softened and lightly caramelized.
Let them sit for a minute between stirs so they develop some color — that caramelization adds sweetness and depth to the filling.
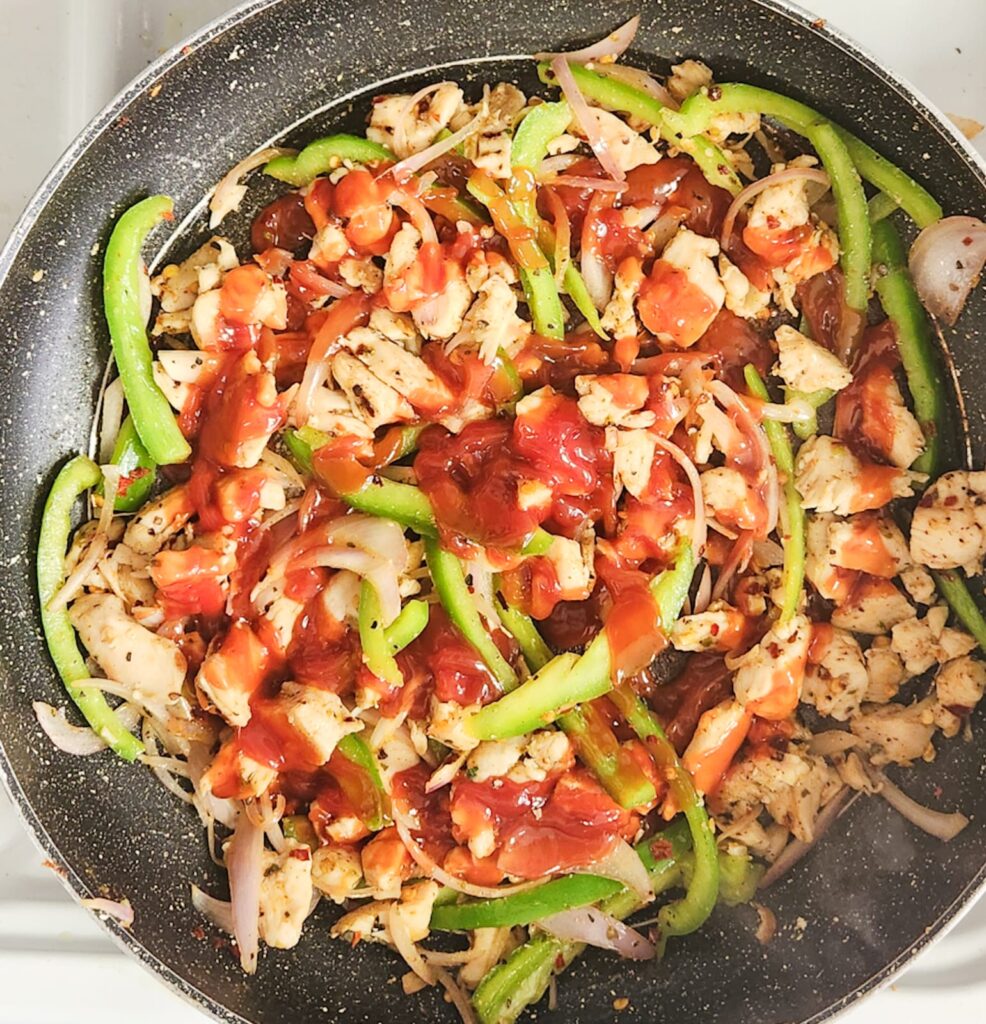
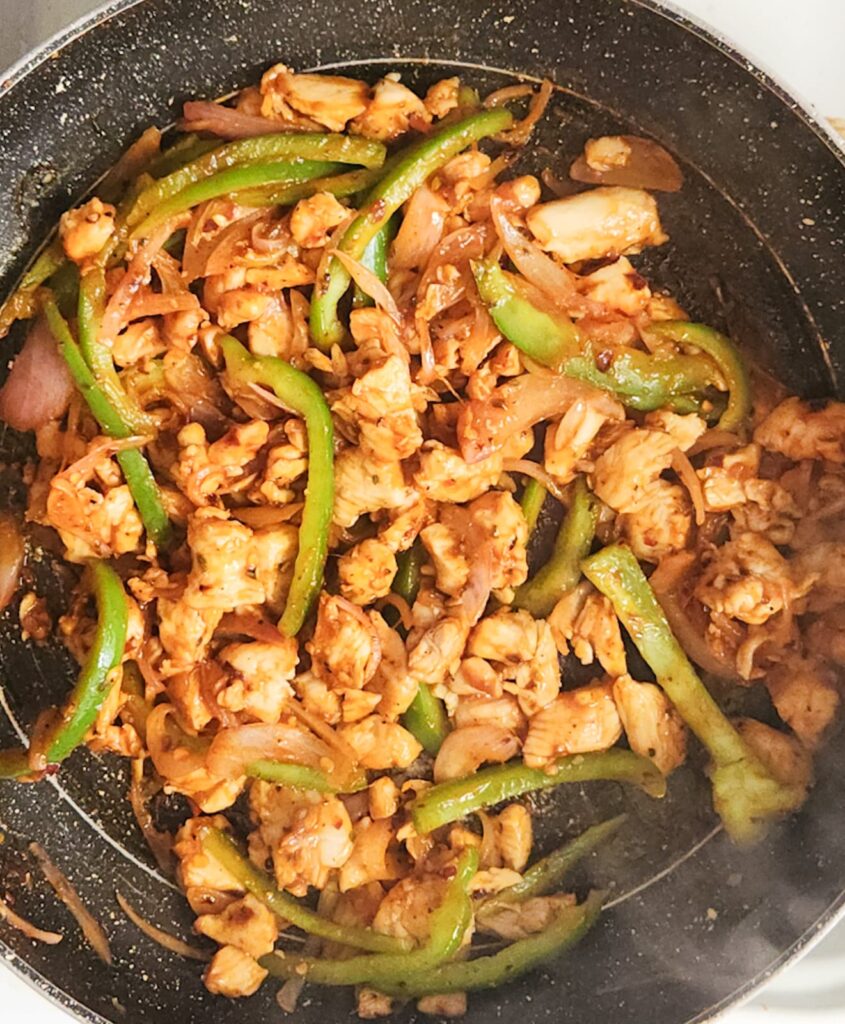
Step 3 — Combine the Filling
Return the cooked chicken to the pan with the peppers and onion. Add the ketchup and stir everything together over medium heat for 1 to 2 minutes until the ketchup coats the filling evenly. Taste and adjust salt if needed.
Remove from heat.
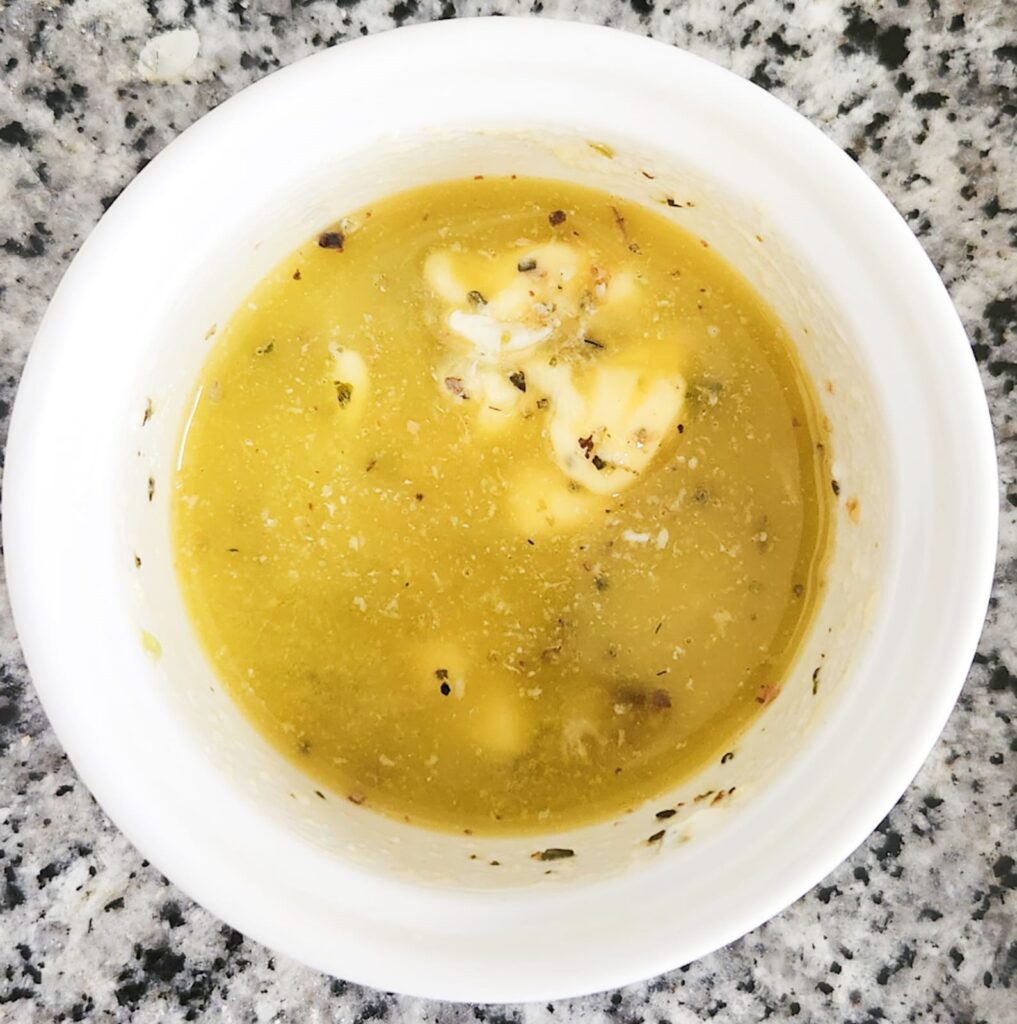
Step 4 — Make the Garlic Butter Glaze
In a small bowl, mix together the melted butter, minced garlic, and dried oregano. Set aside — you will brush this over the top of the sliders just before baking.
Step 5 — Slice the Rolls and Spread Mayo
Preheat your oven to 350°F (175°C). Lightly grease a 9×13 inch baking dish. Without separating the rolls, use a serrated knife to slice the entire pack horizontally in one cut.
Place the bottom half cut-side-up in the baking dish.
Spread mayonnaise evenly across the entire surface.
Step 6 — Add the Filling and Cheese
Spoon the chicken fajita filling evenly over the mayonnaise layer and press it down gently so it is level across all 12 rolls.
Spread the shredded mozzarella cheese generously over the entire filling layer.
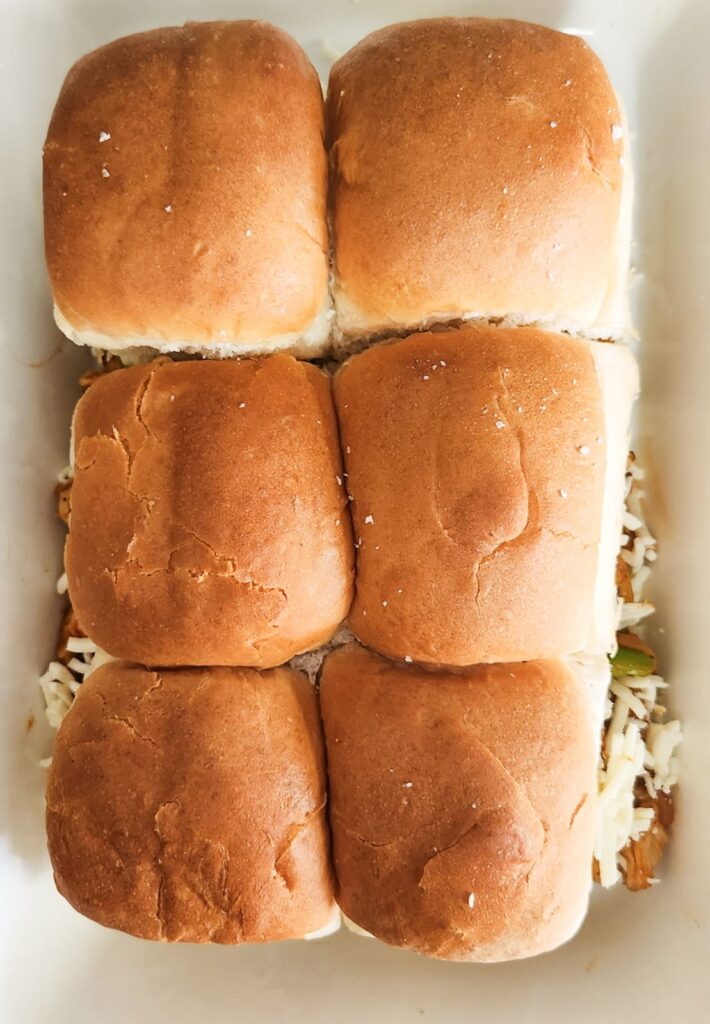
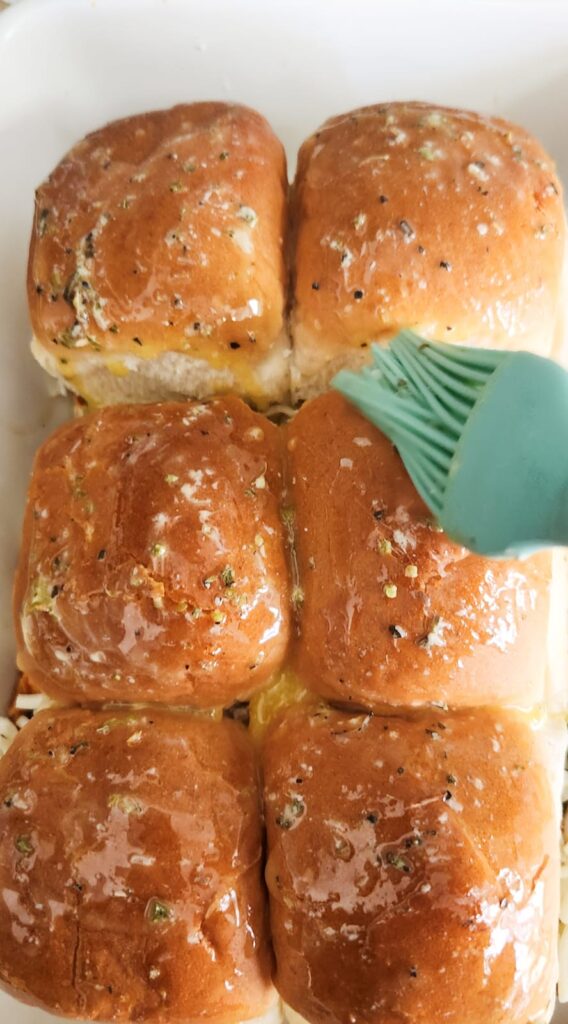
Step 7 — Top with Rolls and Brush with Garlic Butter
Place the top half of the rolls over the cheese layer and press down lightly. Brush the garlic butter and oregano mixture generously over the entire top surface of the rolls.
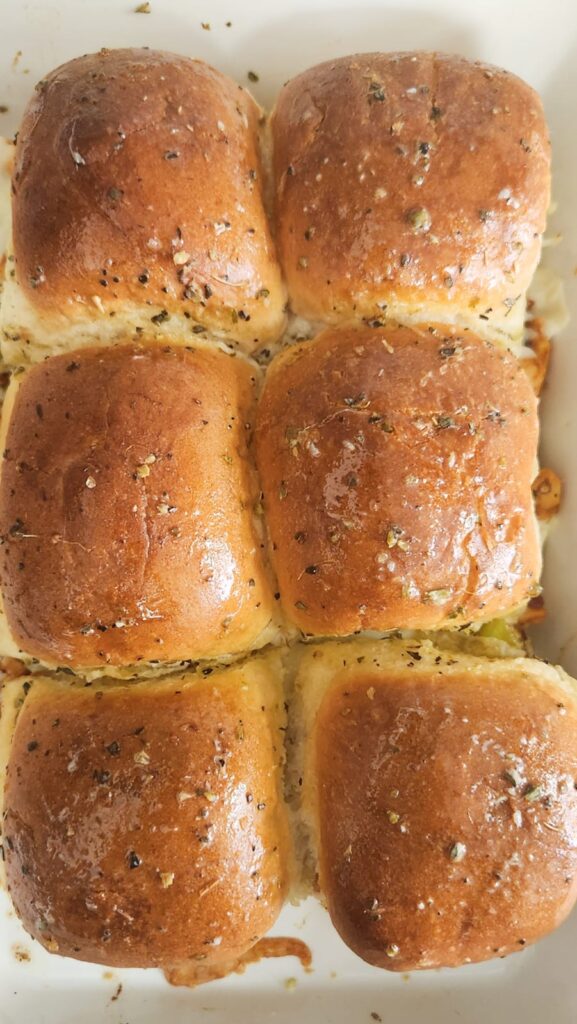
Step 8 — Bake
Cover the baking dish tightly with foil and bake at 350°F for 15 minutes. Remove the foil and bake for a further 5 minutes until the tops are golden brown.
Watch closely during this uncovered phase. Remove from the oven, rest for 3 to 4 minutes, then slice along the roll lines and serve immediately.
Tips for the Best Chicken Fajita Sliders
Slice the chicken thin.
Thin strips cook faster and are much easier to bite through in a small slider without pulling everything apart.
Do not skip the covered baking phase.
The foil traps steam, which melts the cheese evenly and keeps the chicken juicy. Skipping it leads to dry filling and rubbery tops.
Press the filling down firmly.
A compact, even layer is easier to eat than a piled-high, loose one. Every slider should get the same amount of filling.
Use all the garlic butter.
It seems like a lot, but King’s Hawaiian rolls absorb it beautifully. Every drop of butter adds flavor.
Freshly grated cheese only.
Pre-shredded cheese has a coating that prevents it from melting smoothly. Grate it yourself for the best result.
Make it ahead.
Assemble the sliders up to 4 hours in advance and refrigerate. Add the garlic butter glaze just before baking and add 3 to 4 extra minutes to the covered bake time.
How to Serve Chicken Fajita Sliders
These sliders work as a party appetizer, game day snack, or weeknight main dish. Serve them straight from the baking dish while the cheese is still melted and the tops are golden. Some great sides to serve alongside:
- Mexican street corn salad
- Tomato salsa and tortilla chips
- Simple coleslaw
- Pickled red onions on the side
- Guacamole for dipping
How to Store Leftover Sliders
Store any leftover sliders in an airtight container in the refrigerator for up to 3 to 4 days. Keep them connected as a sheet if possible — they stay moister that way.
To reheat, wrap in foil and place in a 325°F oven for 10 to 12 minutes. Do not microwave — the rolls turn rubbery and the garlic butter glaze loses its texture completely.
Freezing assembled sliders is not recommended. However, you can freeze the cooked chicken fajita filling separately for up to 2 months. Thaw overnight in the fridge, reheat in a pan, and assemble fresh sliders when ready.
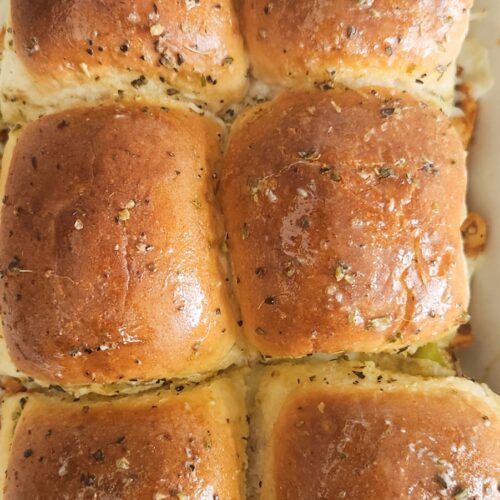
Chicken Fajita Sliders
Ingredients
For the Sliders
- 1 pack King’s Hawaiian slider rolls 12 rolls — or any slider buns
- 4 tablespoons mayonnaise
- 1 cup 100g mozzarella cheese, freshly grated
For the Chicken Fajita Filling
- 500 g 1.1 lb chicken breast or thighs, cut into thin strips
- 1 red bell pepper thinly sliced
- 1 green bell pepper thinly sliced
- 1 small yellow onion thinly sliced
- 2 tablespoons olive oil
- 3 tablespoons ketchup
- 1 tablespoon lime juice
- Fajita Spice Blend
- 1 teaspoon salt
- 1.5 teaspoons smoked paprika
- 1 teaspoon cumin
- 1 teaspoon chili powder
- 1 teaspoon garlic powder
- 1 teaspoon onion powder
- 1 teaspoon dried oregano
- ½ teaspoon black pepper
For the Garlic Butter Glaze
- 4 tablespoons unsalted butter melted
- 3 garlic cloves finely minced
- 1 teaspoon dried oregano
- ½ teaspoon dried parsley
- Pinch of salt
Instructions
- Preheat the oven to 350°F (175°C). Lightly grease a 9×13 inch baking dish. Mix all the spices together in a small bowl and set aside.
- Toss the sliced chicken with the spice blend and 1 tablespoon of olive oil. Heat a skillet over medium-high heat and cook the chicken for 5 to 6 minutes until cooked through and lightly golden. Remove and set aside.
- In the same skillet, add the remaining oil and cook the sliced bell peppers and onion over medium-high heat for 6 to 8 minutes until softened and lightly caramelized.
- Return the chicken to the skillet. Add the ketchup and lime juice and stir everything together over medium heat for 1 to 2 minutes until the filling is coated and combined. Remove from heat.
- In a small bowl, mix together the melted butter, minced garlic, dried oregano, parsley, and a pinch of salt. Set aside.
- Without separating the rolls, use a serrated knife to slice the entire pack horizontally in one cut. Place the bottom half cut-side-up in the prepared baking dish.
- Spread the mayonnaise evenly over the entire surface of the bottom half of the rolls.
- Spoon the chicken fajita filling evenly over the mayonnaise layer and press down gently so it is level.
- Spread the shredded mozzarella cheese evenly over the entire filling layer.
- Place the top half of the rolls over the cheese and press down lightly. Brush the garlic butter and oregano glaze generously over the top of the rolls, getting into the crevices between each roll. Use all of the glaze.
- Cover tightly with foil and bake for 15 minutes. Remove the foil and bake for a further 5 minutes until the tops are golden brown.
- Remove from the oven, rest for 3 to 4 minutes, then slice along the roll lines and serve immediately.
Notes
- Freshly grated mozzarella melts much better than pre-shredded cheese — grate it yourself for the best result.
- Do not separate the rolls before baking. Slice the entire pack as one sheet to get the pull-apart effect.
- To make ahead, assemble the sliders up to 4 hours in advance and refrigerate. Add the garlic butter glaze just before baking and add 3 to 4 extra minutes to the covered bake time.
- Store leftovers in an airtight container in the fridge for up to 3 to 4 days. Reheat wrapped in foil in a 325°F oven for 10 to 12 minutes.