Share via:
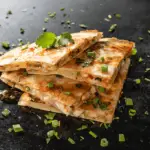
Try these mouthwatering Blackstone Chicken Quesadillas for a weeknight dinner game! You can cook them on a flattop grill, and these quesadillas are filled with savory chicken, melted Monterey cheese, and flavorful black beans, making them the ultimate quick and delicious meal option.
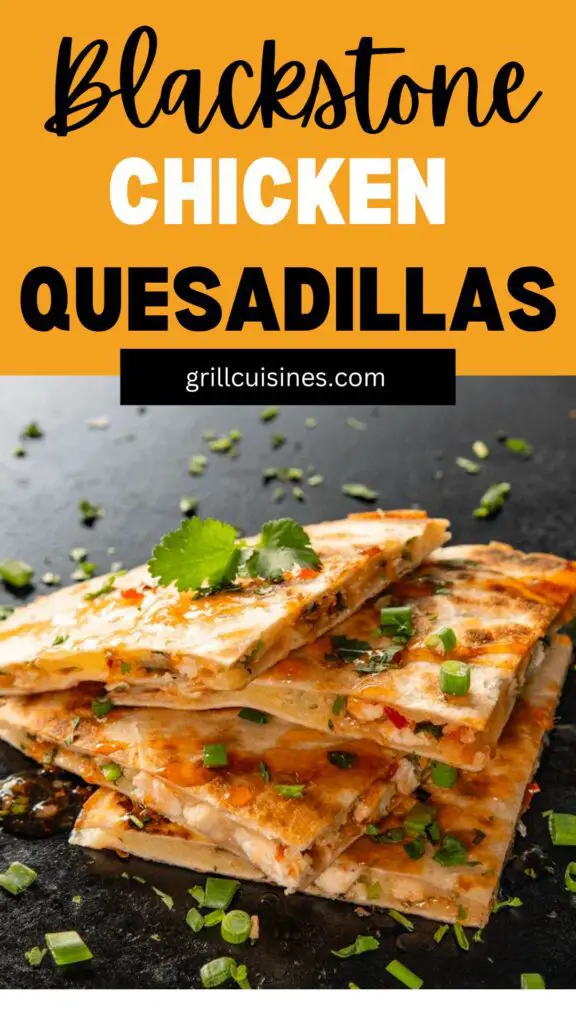
Cooking time is less than 10 minutes and cleanup is easy. I keep it simple – seasoning the chicken with taco spices, cooking it on the grill, then mixing it with salsa for extra flavor. I slap it all between flour tortillas, add cheese, and let it cook until it’s crispy and golden. Serve ’em up with sour cream and guacamole, and you’ve got a meal that’s perfect for any occasion.
Cooking Chicken Quesadillas on a Blackstone grill
You can easily make chicken quesadillas on Blackstone griddle without messy pans and kitchen explosions.
Using a flattop grill or griddle to whip up chicken quesadillas not only streamlines the cooking process but also adds a delicious twist. Below are some tips you need to consider before making a Blackstone quesadilla recipe.
Picking the Right Chicken for Quesadilla
Selecting the perfect chicken for your quesadillas is important to achieve the ultimate flavor and texture. When choosing chicken for quesadillas, opt for boneless, skinless chicken breasts or thighs for their tender and juicy characteristics.
Before cooking, ensure the chicken is fresh and free from any unpleasant odor or discoloration.
Have your Tools Ready
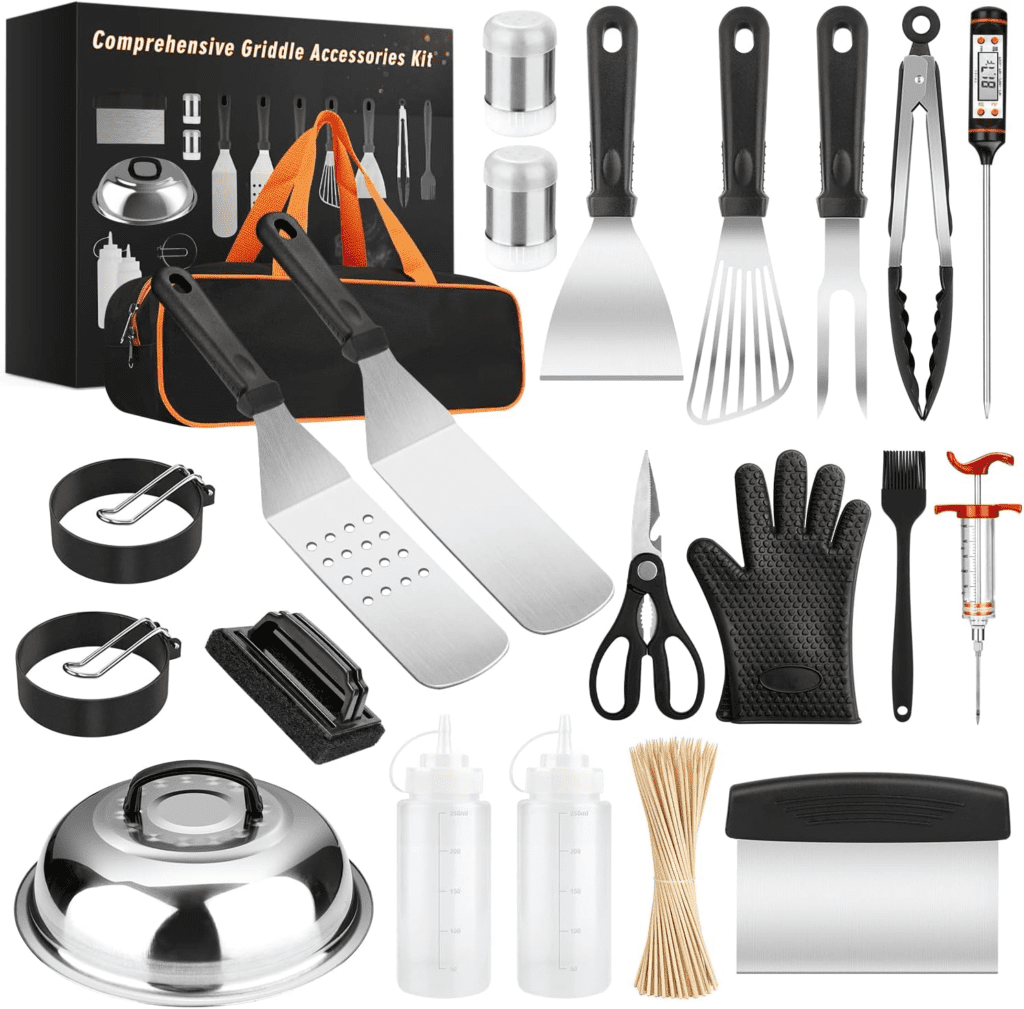
Ensure you’re well-equipped by having the following tools at your disposal:
- Spatulas
- Bench Scraper
- Water Bottle
- Oil Bottle
Consider investing in a griddle accessory kit for additional convenience.
Remember, a small amount of oil is essential for preventing sticking and achieving that perfect golden brown color on your meat.
Ingredients for Blackstone Quesadilla Recipe
Here’s your shopping list for chicken quesadillas on Blackstone griddle.
1. Chicken
Go for the juiciest chicken you can find – whether it’s breast or thigh, make sure it’s top-notch.
2. Spices
Think cumin, paprika, a pinch of chili powder, and whatever else makes your taste buds tingle.
3. Tortillas
The unsung hero of quesadillas – your choice of tortillas. Whether you’re vibing with classic flour or venturing into the world of corn, make sure they’re fresh and ready to cradle all that goodness.

4. Cheese
Grab your favorite cheese blend – cheddar, Monterey Jack, or a fancy mix. This is the gooey magic that’ll hold everything together and make your quesadillas irresistible.
5. Homemade Seasoning
Mix up a special blend of spices – maybe some garlic powder, onion powder, a dash of oregano – and let it work its magic on your chicken. Homemade seasoning is the secret handshake to flavor greatness.
Step-by-Step Journey to Quesadilla Heaven
1- Preheat that Griddle
Preheat the griddle and set up a two-heat zone on your grill, start by preheating one side to medium-high heat, reaching temperatures of about 350-400°F. Meanwhile, leave the burners off on the other side, maintaining a lower temperature of around 250°F.
This setup enables you to grill your chicken and cook your quesadillas on the hotter side while utilizing the cooler side as a “Warming Area.” After grilling the chicken and cooking the quesadillas to perfection, you can move them to the cooler side to keep everything warm until it’s time to serve, ensuring that everyone enjoys their meal piping hot at the same time.

2- Marinade and Cook Chicken On Griddle
Now, marinate the chicken with the homemade seasoning blend. Sprinkle it on the chicken, and it at least 30 minutes to marinate. Add a light coating of avocado oil, and place the chicken over the hot side of your griddle.
Let it cook for about 3-5 minutes on each side, until cooked through, then chop the chicken into bit-sized bits with a spatula and move it off to the warming side of the griddle.
3- Assembled the Quesadillas
Let it cook for about 3-5 minutes on each side, until cooked through, then chop the chicken into bit-sized bits with a spatula and move it off to the warming side of the griddle. Cook on both sides of the tortilla until they become a nice toasted golden brown on both sides. Move to the warming side and repeat the process until all your quesadillas are ready.

4- Serve
Plate your Blackstone Griddle Chicken Quesadillas, and add a few garnishes for that extra flair.

The Best Cheeses for Blackstone Quesadillas
Here are some of the best cheeses for quesadillas. Feel free to mix and match different cheeses to create your custom quesadilla blend.
- Monterey Jack
- Cheddar
- Oaxaca
- Queso Asadero
- Queso Quesadilla
- Pepper Jack
- Mozzarella
Variations
Here’s a list of alternative ingredients you can use instead of chicken in quesadillas:
- Steak (such as flank steak, skirt steak, or sirloin)
- Ground beef or turkey
- Pulled pork or shredded pork
- Shrimp
- Fish (such as tilapia, cod, or salmon)
- Tofu or tempeh (for vegetarian or vegan options)
- Sliced deli meats (such as ham, turkey, or roast beef), sausages (such as chorizo, Italian sausage, or Andouille sausage)
- Vegetarian option: Portobello mushrooms or other mushrooms, sliced bell peppers, onions.
Storage and Reheating Tips:
Now that you’ve conquered the art of crafting the perfect Blackstone griddle chicken quesadillas, let’s talk about how to keep the deliciousness intact for later enjoyment.
Storage:
- Airtight Containers: Once your quesadillas have cooled down, store them in airtight containers. This helps preserve their freshness and prevents them from drying out.
- Refrigeration: For short-term storage, refrigerate your quesadillas. They’ll stay good for a few days, and you’ll have a quick and tasty meal on standby.
- Freezing: Planning for the long haul? Freeze your quesadillas! Layer them with parchment paper to prevent sticking, then store them in freezer-safe bags or containers. Properly stored, they can be a convenient freezer meal for up to a month.
Reheating:
- Oven Method: To maintain that coveted crispy exterior, preheat your oven to around 350°F (175°C). Place your quesadillas on a baking sheet and reheat for about 10-15 minutes or until they’re heated through.
- Stovetop Sizzle: Reheating on a stovetop works like a charm. Use a skillet or griddle, warm it up over medium heat, and give each side of the quesadilla a few minutes to get that delightful crunch back.
- Microwave Quick Fix: If time is of the essence, the microwave is your friend. Wrap the Blackstone Griddle Chicken Quesadillas in a damp paper towel to maintain moisture, then heat in short bursts, checking for the desired warmth.
Remember, the key to reheating success is to avoid overdoing it – we want to revive the flavors without sacrificing that initial crispy goodness. So, whether you’re reheating for a quick lunch or savoring the leftovers, these tips will ensure your Blackstone griddle chicken quesadillas remain a delectable delight.
Frequently Asked Questions (FAQs)
How do I store leftover quesadillas?
Any tips for reheating quesadillas without losing that crispy goodness?
What’s the key to making the most out of my Blackstone griddle?
Can I use a different type of cheese for my quesadillas?
Any secret tips for creating that perfect quesadilla fold?
Chicken Quesadillas on Your Blackstone Griddle
Ingredients
- 1 pound chicken breast thinly sliced
- 1 teaspoon cumin
- 1 teaspoon paprika
- 1/2 teaspoon chili powder
- Salt and pepper to taste
- 8 medium flour tortillas
- 2 cups shredded cheese cheddar, Monterey Jack, or your favorite blend
- Homemade seasoning blend 1 teaspoon garlic powder, 1 teaspoon onion powder, 1/2 teaspoon oregano
- Optional toppings: Salsa guacamole, sour cream, chopped cilantro
Instructions
- Preheat your Blackstone griddle to medium-high heat, around 350-400°F. If your griddle has multiple burners, you can set up a two-zone cooking area as described earlier, with one side hotter for cooking and the other side cooler for warming.
- In a bowl, combine sliced chicken with cumin, paprika, chili powder, salt, pepper, and the homemade seasoning blend. Mix well to coat the chicken evenly.
- Once the griddle is hot, lightly oil the cooking surface or spray it with cooking spray to prevent sticking.Cook the seasoned chicken on the griddle until fully cooked and slightly charred, approximately 5-7 minutes per side.
- Once the chicken is cooked, remove it from the griddle and let it rest for a few minutes. Then, slice the chicken into thin strips or shred it using two forks.
- Place a tortilla on the griddle. Sprinkle a generous amount of shredded cheese on half of the tortilla.
- Top the cheese with the cooked black beans, salsa, and sliced or shredded chicken.
- Fold the other half of the tortilla over the filling, creating a half-moon shape.
- Press down gently on the quesadillas with a spatula to help seal them and ensure even cooking.Cook each quesadilla for 2-3 minutes on each side or until golden and crispy.
- Remove the quesadillas from the griddle and let them rest for a minute before slicing.
- Serve with your favorite toppings like salsa, guacamole, sour cream, and a sprinkle of chopped cilantro.
Notes
- Calories: Approximately 450-500 calories
- Protein: Around 30-35g
- Carbohydrates: About 30-35g
- Fat: Approximately 20-25g
- Fiber: Around 2-3g
- Sodium: Approximately 800-900mg

Hi, I’m Sabah — the cook behind grillcuisines! I share easy, family-friendly recipes made with love and simple ingredients.

