Share via:
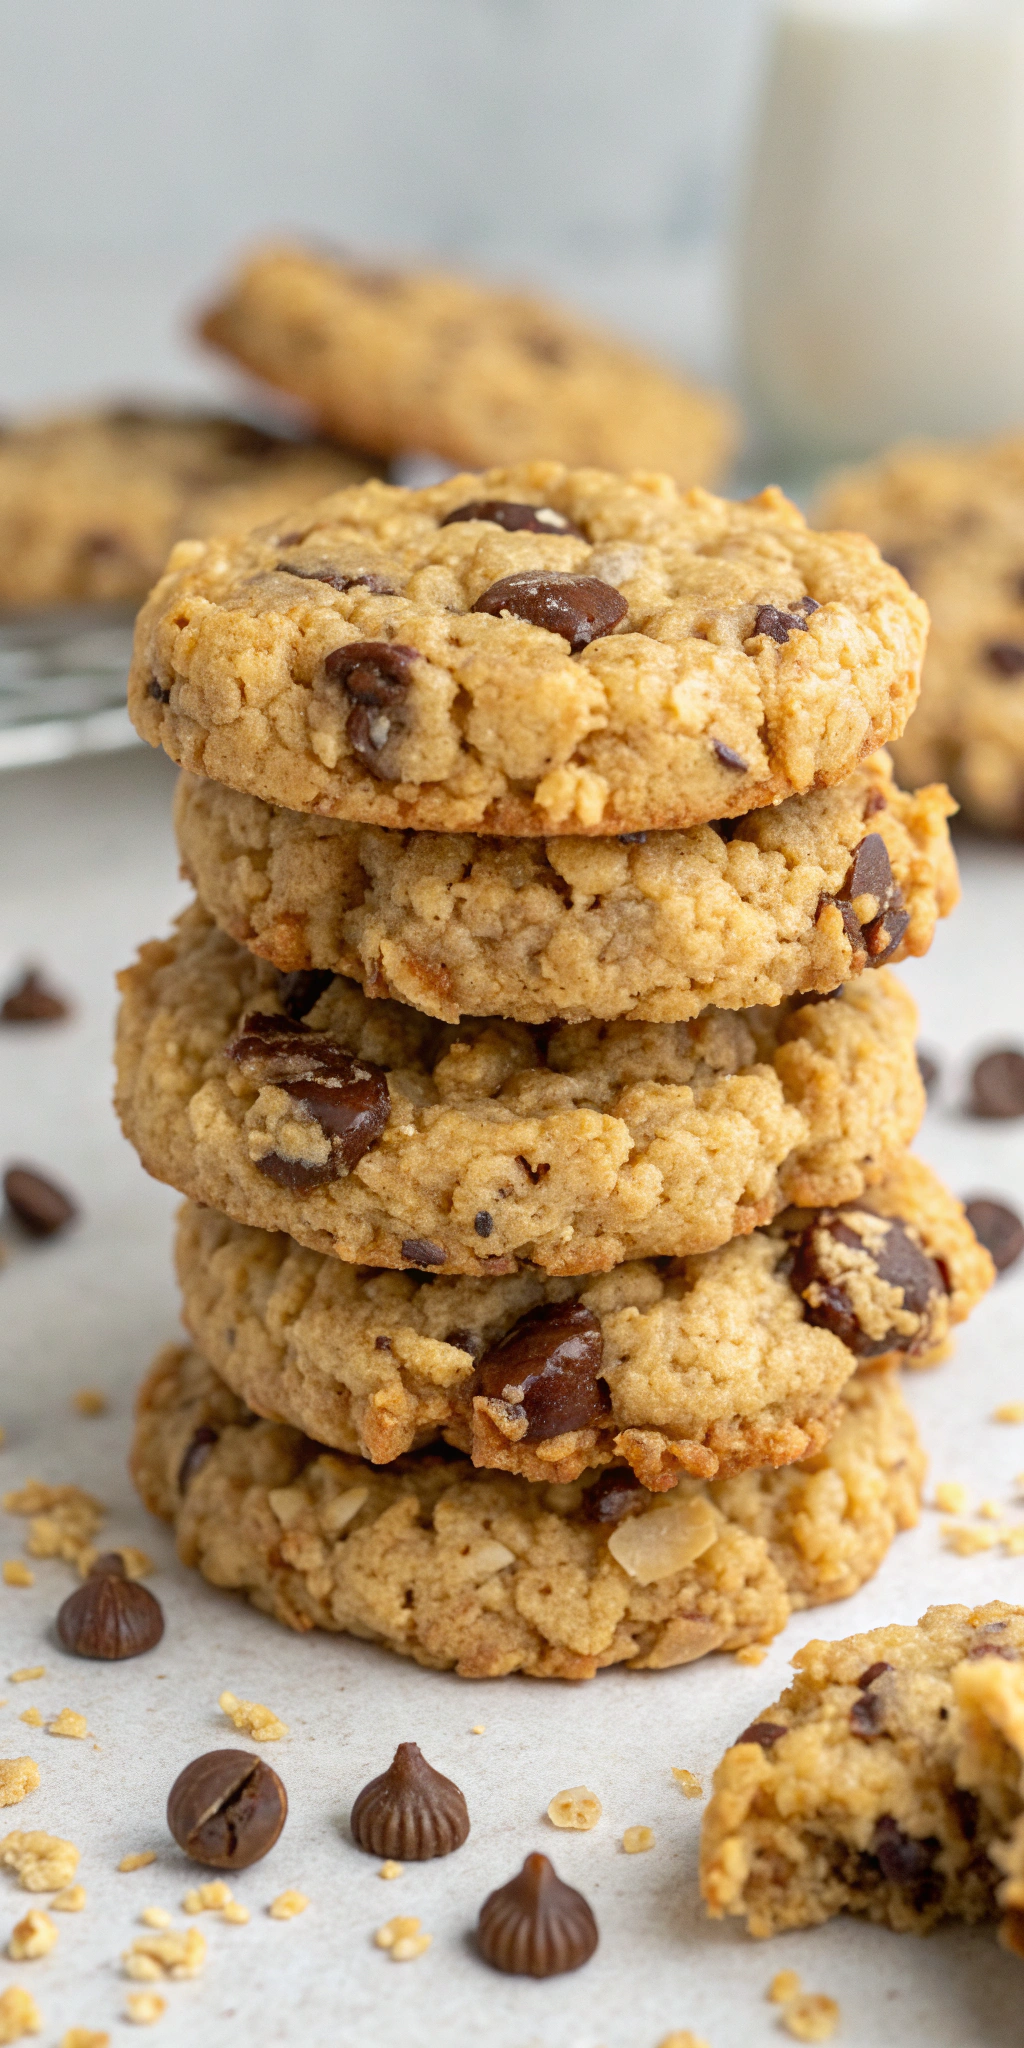
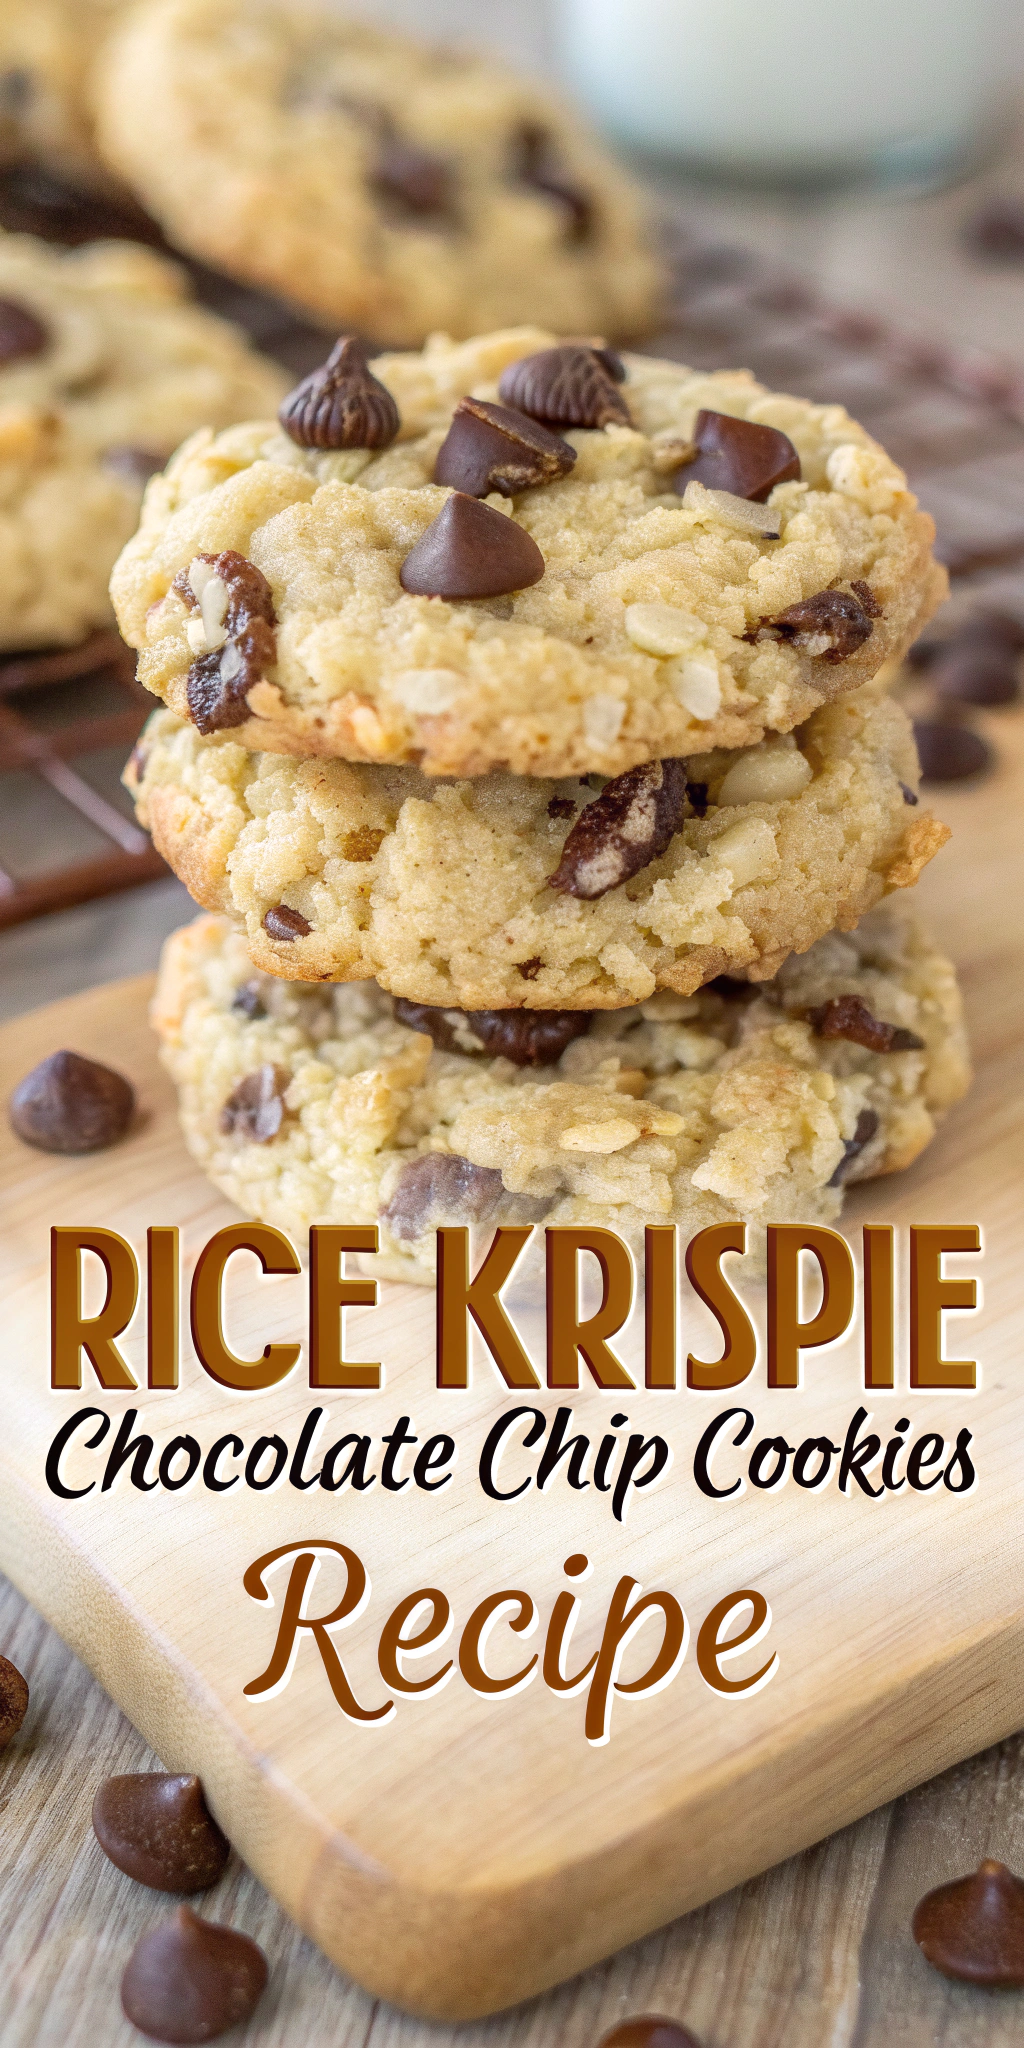
If you’re looking for a cookie that combines the classic chocolate chip flavor with an added crunchy twist, Rice Krispie Chocolate Chip Cookies are a great choice.
I enjoy these cookies because they offer a unique texture, balancing chewy centers with crispy edges thanks to the Rice Krispies cereal mixed into the dough.

The key to this recipe is the addition of Rice Krispies, which creates a light, crispy crunch that sets these cookies apart from regular chocolate chip cookies. They are easy to make and offer a fun variation if you want to mix up your usual baking routine.
I find these cookies perfect for any occasion, whether it’s a casual snack or a treat to impress guests. The simplicity of ingredients and straightforward steps make this recipe accessible to bakers of all skill levels.
Rice Krispie Chocolate Chip Cookies Ingredients
I focus on ingredients that create a balance between chewiness and crunch. Choosing the right chocolate chips and possible mix-ins can enhance flavor and texture.
Dietary preferences can require substitutions without losing the cookie’s core qualities.
Key Components for Texture and Flavor
Butter is essential for richness and chewiness. I use softened unsalted butter to control salt levels and promote even mixing.
Brown sugar adds moisture and a deeper flavor, helping the cookies stay soft inside. Granulated sugar contributes to a mild crispiness around the edges.
Rice Krispies cereal provides a distinctive crunch. I add it last to maintain its light, crispy texture without turning soggy.
Eggs bind the ingredients and add structure. Vanilla extract enhances the overall flavor, contributing sweetness and complexity.
Recommended Chocolate Chips and Mix-Ins
Semi-sweet chocolate chips work well because they balance sweetness and bitterness without overwhelming the cookie.
You can experiment with milk chocolate or dark chocolate chips for different intensities of flavor.
To add variety, I sometimes include chopped nuts or shredded coconut, which complement the Rice Krispies crunch and chocolate richness.
Avoid mix-ins that might add too much moisture, as they can cause the cookies to lose their crispy-chewy contrast.
Ingredient Substitutions for Dietary Preferences
For gluten-free options, I substitute regular Rice Krispies with gluten-free puffed rice cereal.
Butter can be swapped for vegan margarine or coconut oil to make the recipe dairy-free. This may slightly change texture but still works well.
To reduce sugar, I use natural sweeteners like maple syrup or a blend of sugar substitutes, while watching how it affects chewiness.
Egg replacements like flax eggs provide binding without compromising texture for vegan versions.
Ingredients (makes about 24 cookies):
-
1 cup (2 sticks) unsalted butter, softened
-
1 cup granulated sugar
-
1 cup packed light brown sugar
-
2 large eggs
-
2 tsp pure vanilla extract
-
2 ½ cups all-purpose flour
-
1 tsp baking soda
-
1 tsp baking powder
-
½ tsp salt
-
2 cups crispy rice cereal (like Rice Krispies)
-
1 ½ cups semisweet chocolate chips
-
Optional: ½ cup chopped nuts (pecans or walnuts) for extra crunch
Step-by-Step Baking Instructions
Baking these cookies starts with creating a balanced dough that combines wet and dry ingredients precisely. Then, I ensure the Rice Krispies and chocolate chips are evenly mixed without losing their texture.
Finally, the cookies are shaped uniformly and baked at the right temperature to achieve the ideal crispy-chewy texture.
-
Preheat Oven & Prep Pans
Preheat oven to 350°F (175°C). Line two baking sheets with parchment paper or silicone baking mats. -
Cream Butter & Sugars
In a large mixing bowl, beat butter, granulated sugar, and brown sugar together until light and fluffy (about 2–3 minutes). -
Add Eggs & Vanilla
Beat in eggs, one at a time, mixing well after each addition. Stir in vanilla extract. -
Mix Dry Ingredients
In a separate bowl, whisk together flour, baking soda, baking powder, and salt. -
Combine Wet & Dry
Gradually mix dry ingredients into the wet mixture until just combined (do not overmix). -
Add the Fun Stuff
Gently fold in Rice Krispies, chocolate chips, and nuts (if using) until evenly distributed. -
Shape Cookies
Using a medium cookie scoop or tablespoon, drop dough balls onto prepared baking sheets, spacing them about 2 inches apart. -
Bake
Bake for 9–11 minutes, or until edges are golden but centers still look slightly soft. -
Cool & Serve
Let cookies cool on baking sheet for 2–3 minutes, then transfer to a wire rack to cool completely.

Tips for Perfect Rice Krispie Chocolate Chip Cookies
Baking these cookies requires balancing texture and technique. Paying attention to ingredient handling and baking times will help you get the right mix of chewiness and crunch without overdoing either. Avoiding common errors prevents flat or overly hard cookies.
Achieving the Ideal Chewy and Crispy Texture
To get that perfect chewy center with a crispy edge, I recommend using a mix of brown sugar and white sugar. Brown sugar adds moisture, which helps keep the inside soft, while white sugar strengthens the crispiness around the edges.
Incorporating Rice Krispies cereal at the end of mixing preserves its crunch. Adding the cereal too early causes it to absorb moisture and get soggy.
Bake cookies on a parchment-lined sheet and watch them closely near the end of the baking time. Take them out when edges are golden but centers still look slightly underbaked. Cookies continue to firm while cooling.
Common Mistakes to Avoid
Overmixing the dough leads to tough cookies, so I mix just until ingredients are combined. Using melted butter instead of softened butter can make the dough too thin, impacting texture and spread.
Avoid pressing down cookies before baking, as this flattens and removes the natural rise. Also, don’t skip chilling if your dough feels too soft; it helps control spreading but isn’t always necessary.
Finally, do not overload with Rice Krispies; too many reduce dough cohesion, causing crumbly cookies. A balanced ratio keeps structure intact while providing sought crunch.

Hi, I’m Sabah — the cook behind grillcuisines! I share easy, family-friendly recipes made with love and simple ingredients.


