Seasoning a Blackstone griddle is an essential step in ensuring its longevity and the quality of the food you prepare on it.
Proper seasoning not only prevents rust and staining but also creates a non-stick surface for easy cooking and cleaning.
Seasoning a blackstone griddle may seem like a difficult task for beginners, but with the right guidance, it can be a simple process.
In this easy guide, we will walk you through the step-by-step process of “How to Season a Blackstone Griddle”, as well as provide tips for griddle care and maintenance to keep your cooking surface in top condition.
Whether you are a beginner or an experienced griddle chef, proper seasoning and maintenance are key to getting the most out of your Blackstone griddle.
Why do you need to season a Blackstone griddle?
Seasoning a Blackstone griddle is an essential step that should never be ignored. It provides numerous crucial benefits that are essential for optimal performance, longevity, and delicious cooking results.
The Non-Stick Surface of Excellence
In the seasoning process, oil is polymerized onto the griddle’s surface, forming a patina that acts as a natural non-stick coating.
This non-stick layer ensures food slides off the griddle effortlessly, making cooking and cleaning a breeze. This way, stuck-on messes will no longer frustrate you.
Prevent from Rust and Corrosion
The seasoned layer creates a protective barrier that shields the griddle’s metal surface from rust, corrosion, and other forms of damage.
With this added protection, your Blackstone griddle will last for countless cooking adventures, while remaining in perfect condition.
Related > > Why is Blackstone Rusting
How to Keep Blackstone from rusting?
Extraordinary Flavor Booster:
A well-seasoned griddle does more than just prevent sticking. it also imparts a delicate, delicious flavor to your meals.
The polymerized oil layer adds a depth of taste that enhances the natural flavors of the food you’re cooking, taking your dishes to new heights of flavor.
Exceptional durability:
The seasoning process strengthens and hardens the griddle’s surface, making it more durable and resistant to scratches, dents, and wear over time. This ensures your Blackstone griddle maintains its smooth, even cooking surface for consistent, reliable results, year after year.
By taking the time to properly season your Blackstone griddle, you’re not only creating a non-stick surface but also protecting your investment, enhancing flavor, and ensuring long-lasting, high-performance cooking capabilities.
It’s an essential step that should never be skipped for the ultimate griddling experience.
How to Season a Blackstone Griddle – 5 Easy Steps
Here are the necessary steps you should follow to properly season your Blackstone griddle for the best cooking performance.
1- Prepare Griddle
Before seasoning, it’s crucial to start with a clean griddle surface. If you have a brand-new Blackstone griddle, give it a thorough cleaning to remove any manufacturing residues or debris.
Fill a bucket with warm water and add a few drops of mild dish soap. Stir to create a soapy solution, then dip a non-abrasive sponge or cloth into the solution and gently scrub the entire griddle surface, including the sides and corners.
Rinse thoroughly with clean water and dry the griddle completely using a clean cloth or paper towel.
2- Preheat Griddle
Preheating the griddle is a crucial step for opening up the metal’s pores, allowing the oil to penetrate and bond with the surface during the seasoning process.
Turn on your Blackstone griddle and set it to the highest temperature setting. Allow the griddle to preheat for 10-15 minutes, ensuring the entire surface is hot and ready for seasoning.
This preheating step helps prepare the griddle for the oil application and follows the seasoning process, ensuring a durable, non-stick coating is achieved.
3- Add Thin Oil Layer
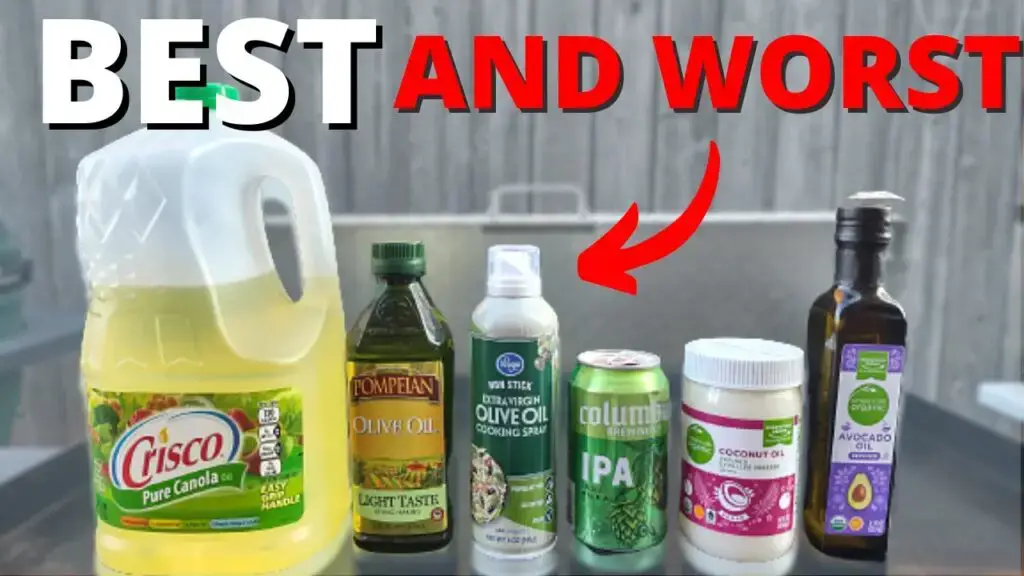
Choosing the right oil is essential for successful seasoning. Look for oils with a high smoke point, such as flaxseed, vegetable, canola, or avocado oil.
Once the griddle is preheated, pour a small amount of your chosen oil onto the hot surface. Using a clean paper towel or a tong-held cloth, spread the oil smoothly across the entire griddle surface, including the sides and corners.
Ensure you apply a thin, even layer of oil, as too much oil can lead to a sticky, uneven surface, while too little won’t provide adequate protection.
Related > > 10 Best Oil For Blackstone Griddle (SMOKE POINT, FLAVOR, HEALTH BENEFIT)
4- Heat Up The Griddle
After applying the thin layer of oil, it’s time to heat up the griddle and initiate the seasoning process. Turn the heat up to the highest setting and let the griddle heat until the oil starts to smoke.
As soon as you see smoke, use a clean paper towel or cloth to spread the oil again, creating an even, thin layer.
Repeat this process 4-5 times, allowing the oil to smoke and spreading it evenly each time. This step allows the oil to polymerize and bond with the griddle’s surface, creating a durable, non-stick coating.
5- Let Seasoned Griddle Cool Down
Here are the key points about letting the seasoned Blackstone griddle cool down after seasoning:
- After completing 3-4 rounds of initial seasoning by heating the griddle and applying thin layers of oil until it smokes, you should let the griddle cool slightly before applying a final coat of oil or seasoning conditioner.
- Letting the griddle cool down a bit after the seasoning rounds allows the newly formed seasoned layer to set and harden properly.
- Some sources recommend letting the griddle cool for 10 minutes between seasoning rounds, while others don’t specify letting it fully cool between rounds.
- Applying a final thin coat of oil or seasoning conditioner like Blackstone’s Cast Iron Conditioner after the griddle has cooled slightly helps protect against oxidation and rust.
- Allowing the fully seasoned griddle to cool down completely to room temperature before using it ensures the seasoned layer has fully set and bonded to the surface.
You should let the Blackstone griddle cool slightly after the initial smoking/seasoning rounds, apply a final coat of oil/conditioner, and then allow it to fully cool to room temperature before use. This helps the seasoning properly set and adhere for a long.
Blackstone Griddle Maintenance Tips
Proper maintenance is key to ensuring your Blackstone griddle remains in top condition for years to come. By following a few simple tips, you can keep your griddle seasoned, protected, and performing at its best. Let’s dive into the essential maintenance practices every Blackstone griddle owner should follow.
1- Store in a Cool & Dry Place
Where you store your Blackstone griddle when not in use is crucial for preventing rust and preserving the seasoned surface. Always store your griddle in a cool, dry place, away from moisture and humidity.
The presence of moist conditions can cause the seasoned layer to degrade and promote rust formation.
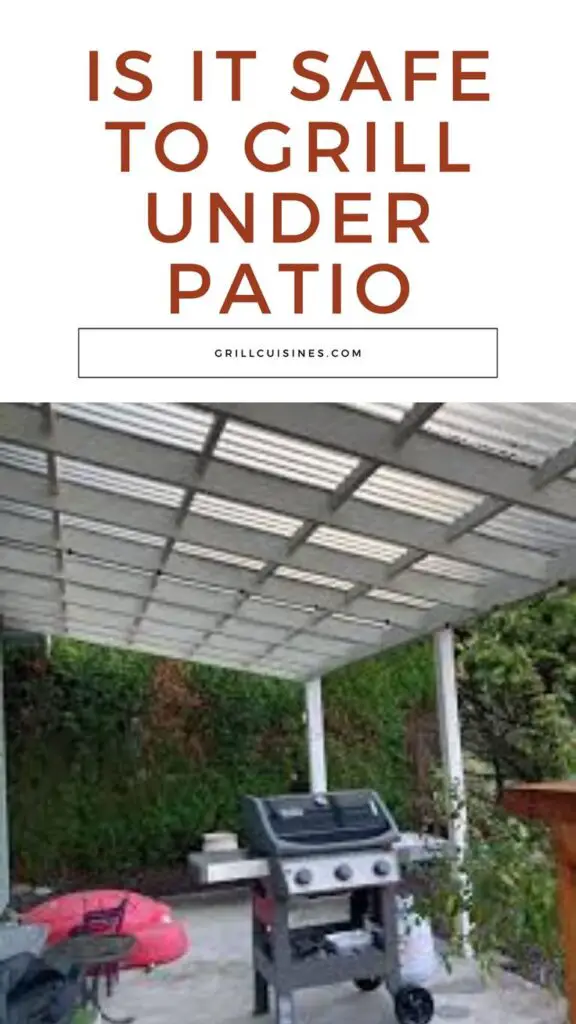
If you have an outdoor kitchen or covered patio, these areas can be ideal for griddle storage, as long as they are well-ventilated and protected from direct rain or moisture. Alternatively, a dry garage or shed can also work well, but be mindful of potential temperature changes and moisture levels.
Avoid storing your griddle in damp basements, roofs, or any area subject to condensation or excessive moisture. These environments can quickly lead to rust and damage your griddle’s surface.
2- Cleaning after Use
After each use, allow the griddle to cool down slightly but not completely. Scrape off any food residue and grease using a metal spatula or scraper.
For stubborn residues, you can use a mixture of water and mild detergent along with a scrubbing pad or brush. Avoid using harsh abrasives or metal scouring pads that could damage the griddle’s surface. Rinse the griddle with water and wipe it dry with a clean cloth or paper towel.
How often should you clean your griddle?
You should clean your griddle regularly to keep it looking and performing well. While the frequency of cleaning will depend on how often you use it, a light cleanse after each cooking session is recommended, followed by a deep cleanse once per week or as necessary.
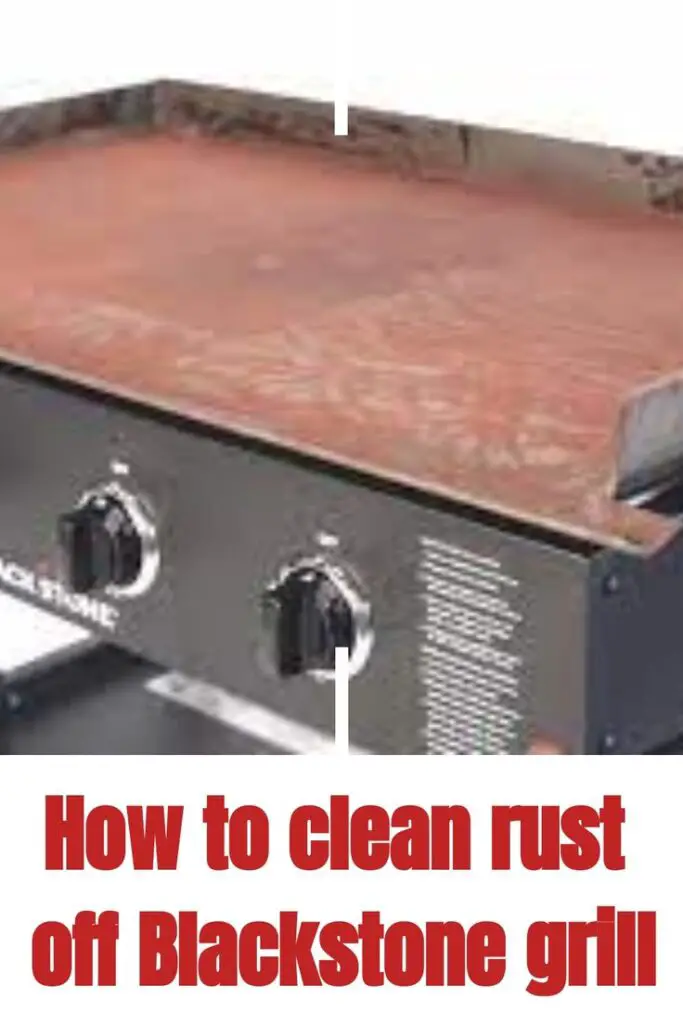
3- Deep Cleaning
Periodically, you’ll need to perform a deep cleaning to remove built-up grease and residue. Once the griddle has cooled completely, remove any food debris using a scraper or spatula.
Apply a commercial griddle cleaner or a mixture of water and baking soda to the surface, then scrub with a non-abrasive pad or brush. Rinse thoroughly with water and dry it completely. Re-season the griddle if necessary.
4- Cover Your Griddle
Investing in a high-quality griddle cover is an essential step in protecting your Blackstone griddle from dust, debris, and moisture when not in use. A cover acts as a barrier, protecting the seasoned surface and preventing dirt from settling on the griddle.
Look for a cover specifically designed for your Blackstone griddle model, ensuring a secure fit and ample coverage. Many covers are made from durable, weather-resistant materials like heavy-duty polyester or canvas, providing excellent protection against the elements.
When not in use, always cover your griddle, even if it’s stored indoors. This simple step can greatly extend the life of your seasoned surface and prevent the need for constant re-seasoning.
5- Store In a Dry Area
Always store your griddle in a dry, well-ventilated area to prevent rust and corrosion. If storing the griddle for an extended period, apply a light coat of cooking oil to the surface to protect it from moisture and oxidation.

6- Don’t Use Abrasive Scrubbers
While it’s essential to keep your Blackstone griddle clean, it’s equally important to avoid using abrasive scrubbers or harsh chemicals that can damage the seasoned surface. Abrasive materials like steel wool or coarse scrub pads can scratch and remove the protective seasoning layer, leaving the griddle open to rust and sticking.
Instead, opt for non-abrasive cleaning tools like griddle scrapers, soft-bristle brushes, or non-scratch scouring pads. These gentle tools can effectively remove stuck-on food and debris without compromising the seasoned surface.
If you need to tackle stubborn stains or buildup, consider using a griddle brick or grill stone, which can gently scrub the surface without causing damage. Always avoid using harsh chemical cleaners, as they can strip away the seasoning and leave behind residues that can affect the flavor of your food.
7- Always Preheat the Griddle Before Cooking Food
Preheating your Blackstone griddle before cooking is not only essential for achieving the best cooking results but also plays an important role in maintaining the seasoned surface. Preheating helps to polymerize and bond the seasoning layer, ensuring it remains durable and non-stick.
Before cooking, turn on your griddle and allow it to preheat for at least 10-15 minutes, or until it reaches the desired temperature. This step helps to open up the pores of the metal, allowing the seasoning to adhere better and creating a smooth, non-stick surface.
Avoid placing cold or room-temperature food directly on a cold griddle, as this can cause sticking and potentially damage the seasoned layer. By preheating, you ensure that the food releases easily and the seasoning remains intact.
Additionally, after cooking, it’s a good practice to let the griddle cool slightly before cleaning. This prevents thermal shock, which can cause the seasoning to flake or crack. Once the griddle has cooled to a safe temperature, you can proceed with cleaning and maintenance.
8- Routine Maintenence
Inspect your griddle regularly for signs of wear, damage, or rust. Check the burner or heating element for any malfunctions or uneven heating. Replace any worn or damaged parts promptly to ensure safe and efficient operation.
Regular maintenance, such as checking for loose screws or damaged parts, can also help ensure the longevity of the griddle.
If rust does occur, it can often be removed with steel wool or sandpaper, followed by reseasoning the griddle.
By following these essential maintenance tips, you’ll not only extend the lifespan of your Blackstone griddle but also ensure consistent, delicious results with every use. Remember, a well-maintained griddle is a joy to cook on and a valuable investment that will provide countless memorable outdoor cooking experiences.
Other Griddle-Related Articles You Might Like
Reasons For Blackstone Uneven Heat

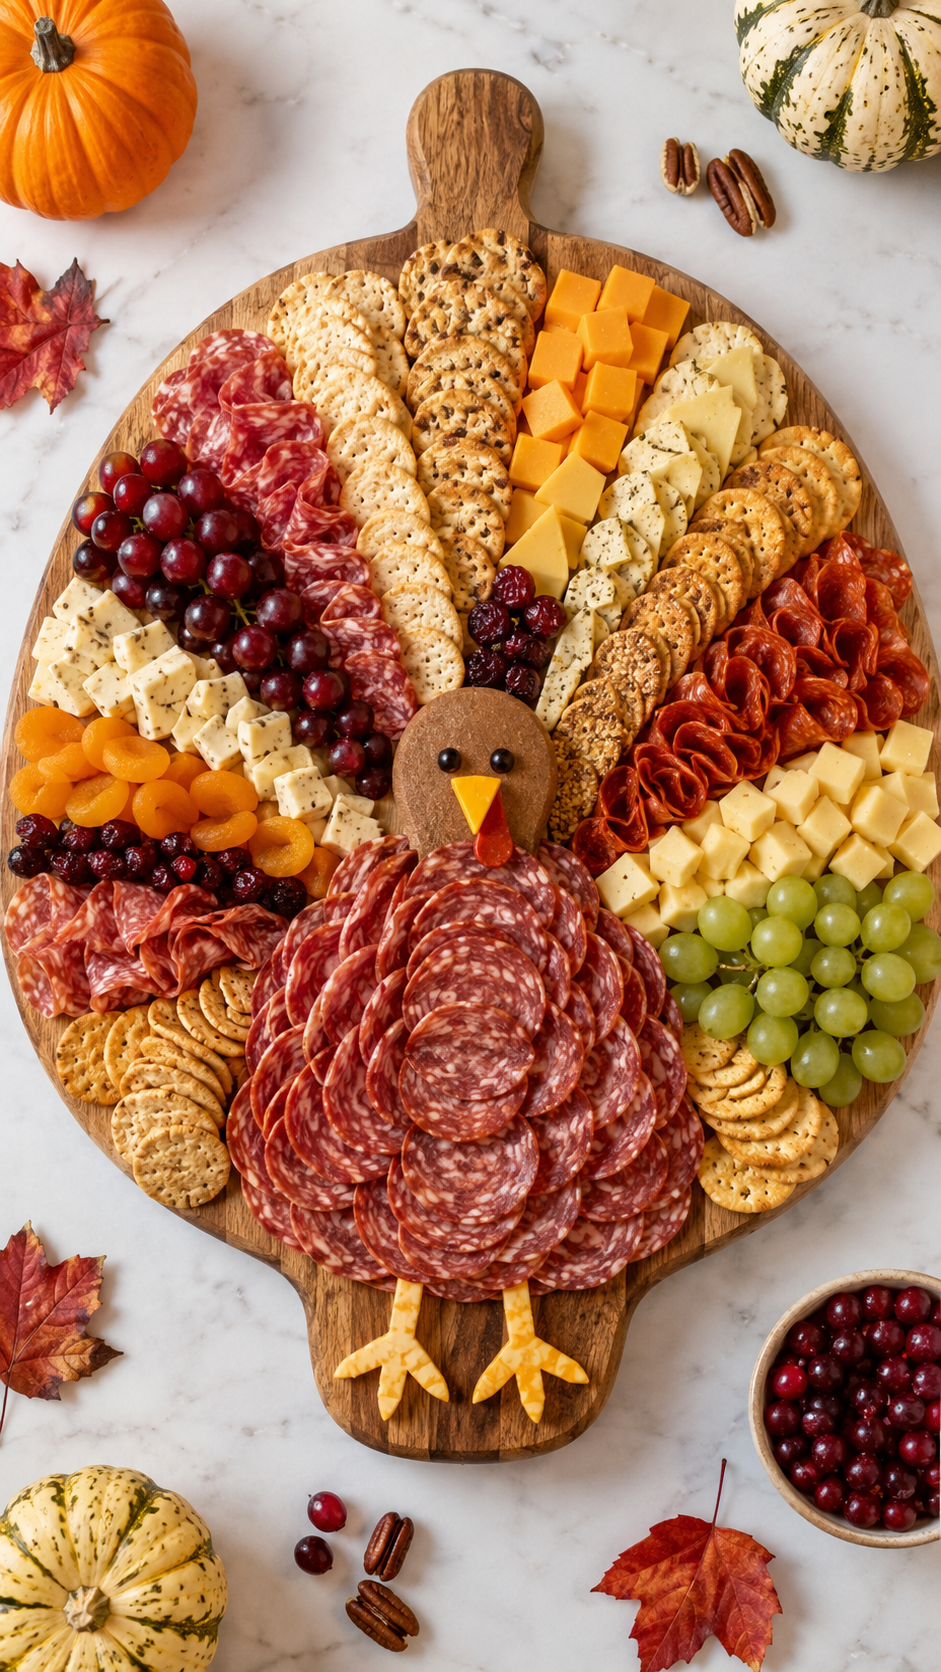
Blackstone Griddle Appetizer Recipes